
Lets Talk About Printed Chocolate Transfer Sheets
1st Oct 2023
The Printed Chocolate Transfer Sheets are a simple, easy-to-use way to give your chocolates and sweet treats a professional, stylish finish. They can be used by beginners and professionals alike with minimal equipment required to achieve a great look. There are so many uses for Printed Chocolate Transfer Sheets you'll be questioning why you have not used them sooner.
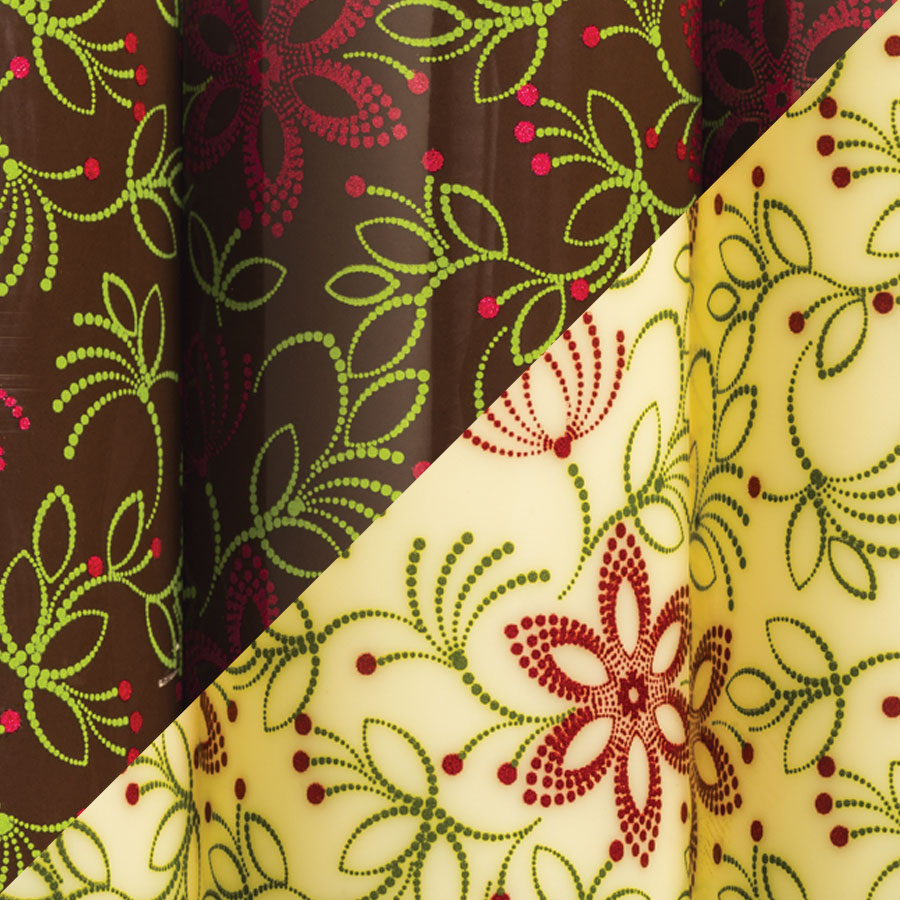
First up, a bit about Printed Chocolate Transfer Sheets. As with anything, there are a variety of sheets available on the market of varying quality. Edible Image Supplies Printed Chocolate Transfer Sheets are high quality thin, food-safe, plastic sheets, that have been coated with a cacao-butter product and preprinted with a wide range of beautiful designs. On contact with melted chocolate, the cacao butter pattern is transferred to the surface of the chocolate.
TIP: Always apply your printed chocolate sheet quickly to your chocolate as the heat is needed to successfully transfer the print to the chocolate treat.
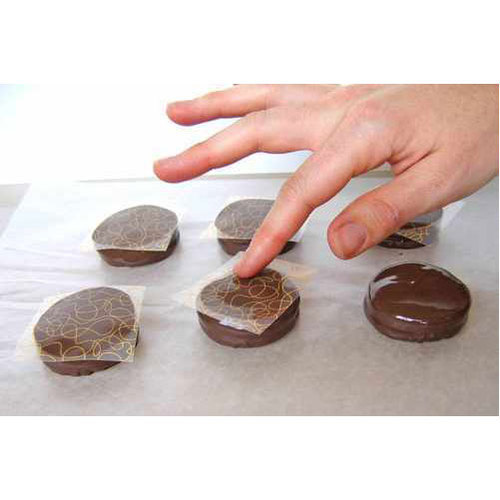
Printed Chocolate Transfer Sheets are ideal for making barks, shards, toppers, curls or chocolate shapes. For beginners, you can try your hand at dipping Oreos or caramels into melted chocolate, placing printed chocolate transfer sheets on the top to make quick and impressive treats without the fuss.
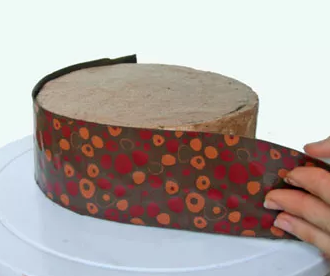
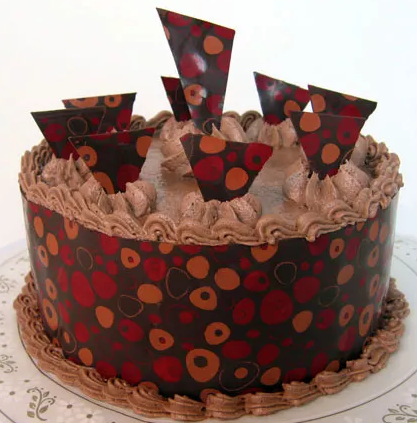
To achieve the best result from your chocolate creations you will need to use tempered chocolate, if you're not quite at that stage, it's best to start with chocolate-flavoured candy melts. This is a chocolate flavoured product made with vegetable or palm oils instead of cocoa butter, making it quicker and easier to use than tempered chocolate. You can grab some from your local cake decorating/baking store.
To create decorative chocolate bark, shards, curls, shapes or toppers place your chocolate transfer sheet printed side up on a large flat baking tray lined with baking paper or a silicone baking sheet.
Spread the melted chocolate all over the transfer sheet in an even thickness. Gently tap the tray against your bench to remove any air bubbles from the chocolate. Allow to set slightly before scoring or forming into required shapes, and then set fully in the fridge.
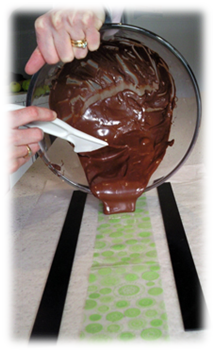
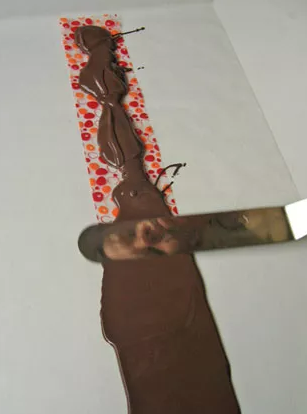
Once set, carefully peel the shapes from your transfer sheet. Voila! They are ready to use!
TIP: Add colour to your melted chocolate with Chocolate Chameleon Candy Colour.
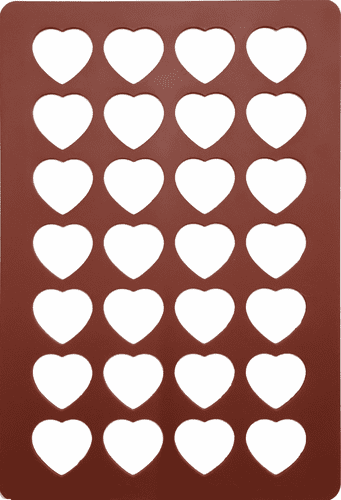
To get perfect shapes such as disks or hearts try using our Silicone Stencils. Just place the stencil over the transfer first then follow the above steps, let set fully before removing the mould. Ensure to scrape off excess chocolate from the surface of the stencil before setting.
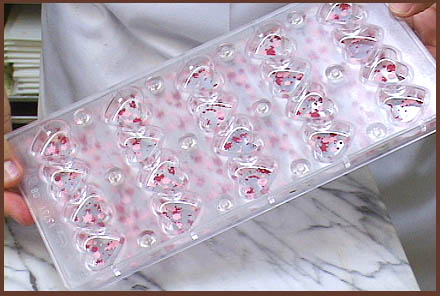
Printed chocolate transfer sheets also work perfectly with our Magnetic Chocolate Moulds- designed to accommodate transfers. You can learn more about these via our blog article Custom Chocolates Made Easy Using Magnetic Chocolate Moulds.
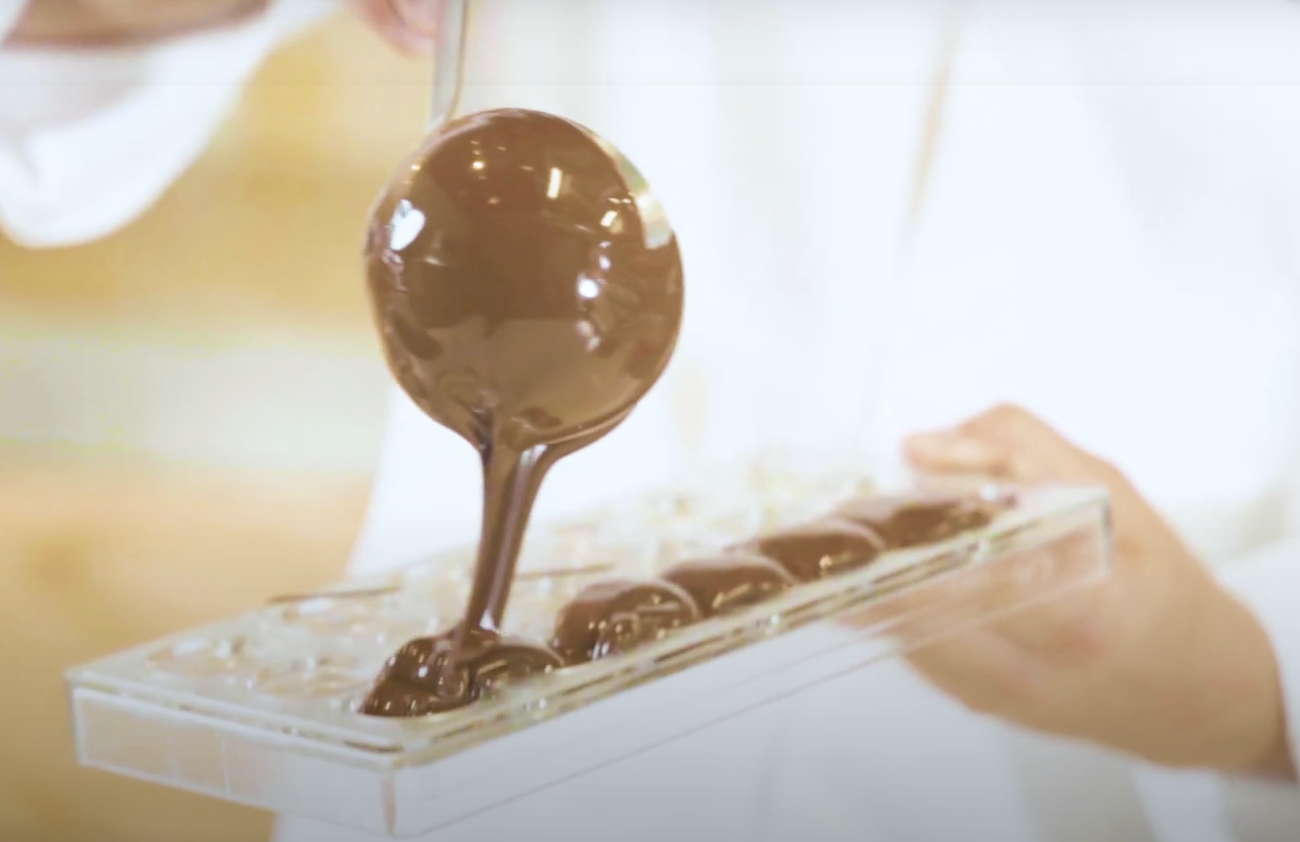
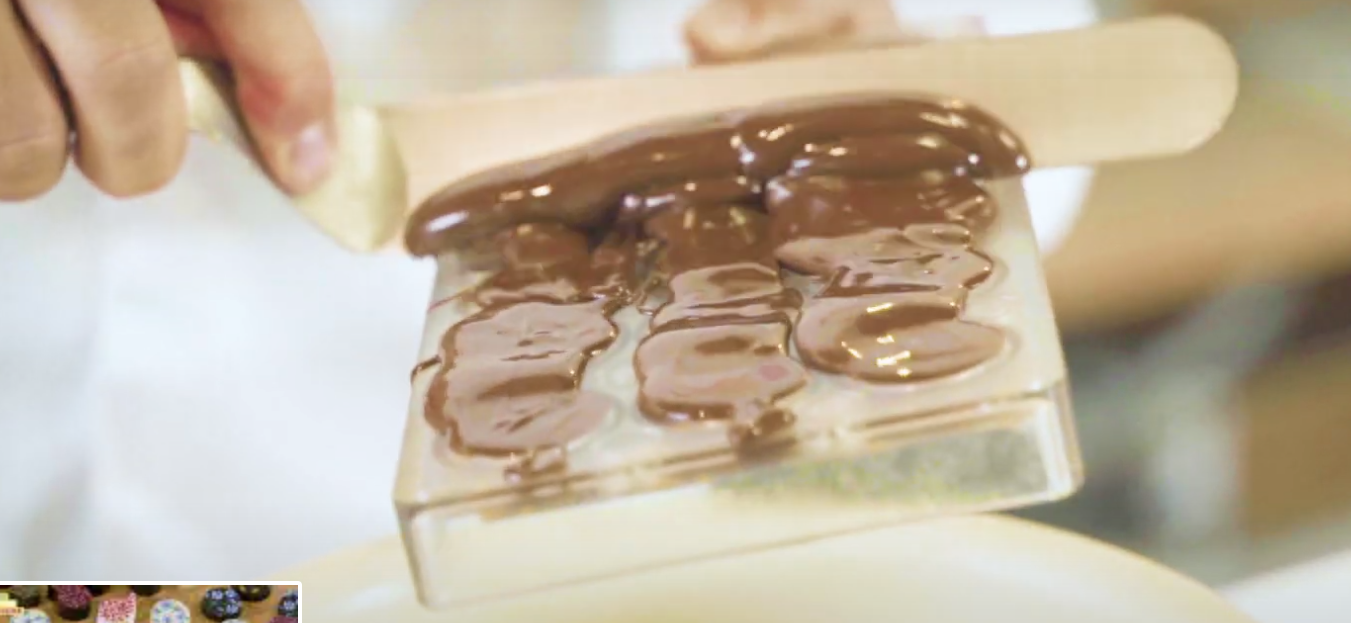
Something for all levels - for a simple yet impressive treat cut your Printed Chocolate Transfer Sheet into corresponding sized squares and dip either Oreos or caramel squares into your preferred melted chocolate. Place these on a tray lined with baking paper. Quickly and steadily (so as not to blur the design) place the transfer (plastic side up) onto your chocolate treat. Refrigerate to set and then peel off transfer backing.
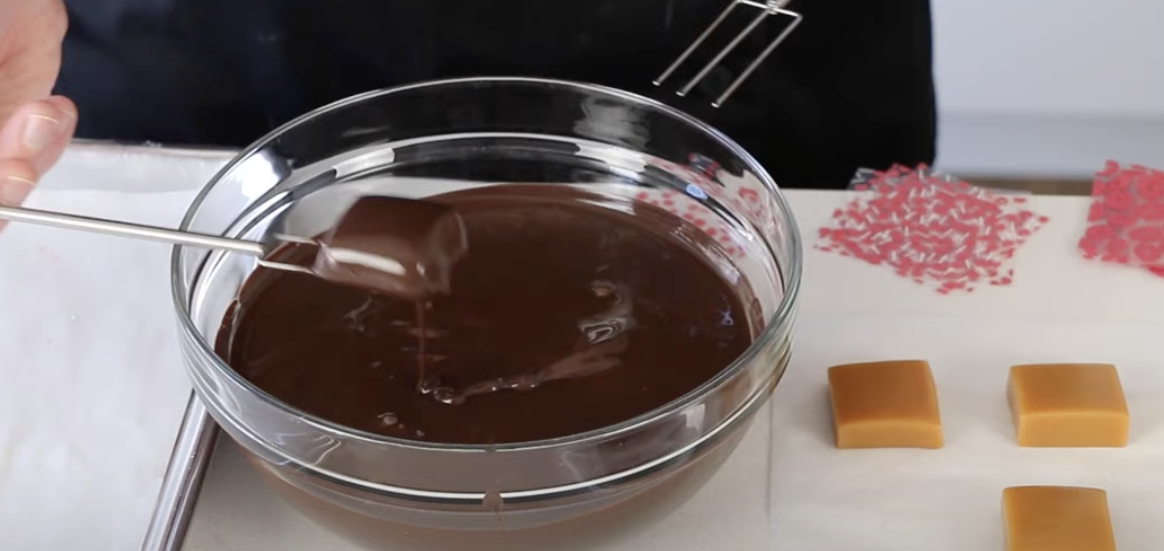
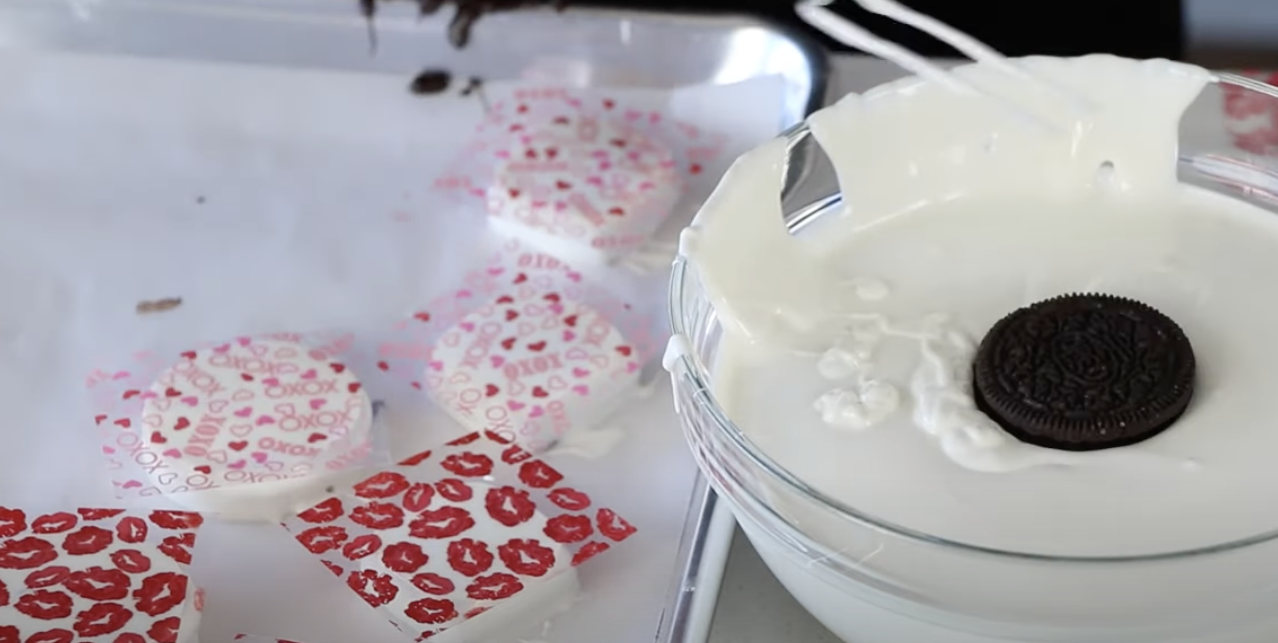
Check out Brittnee Kay via YouTube for a great Printed Chocolate Transfer Sheet tutorial using Oreos and caramels.
TIP: Do one treat at a time, placing the transfer sheet onto the melted chocolate straight away before dipping the next biscuit or caramel. Try not to move the transfer once you’ve placed it.
If you’re starting out, looking to make some one-off homemade treats that are simple, yet eye-catching, or; a professional keen to enhance your creations with decorative chocolate, Printed Chocolate Transfer Sheets are the answer. They're easy to use, versatile, and a speedy way to add design and colour to your chocolaty treats.
NOTE: White chocolate often produces the most vibrant result when using Printed Chocolate Transfer Sheets
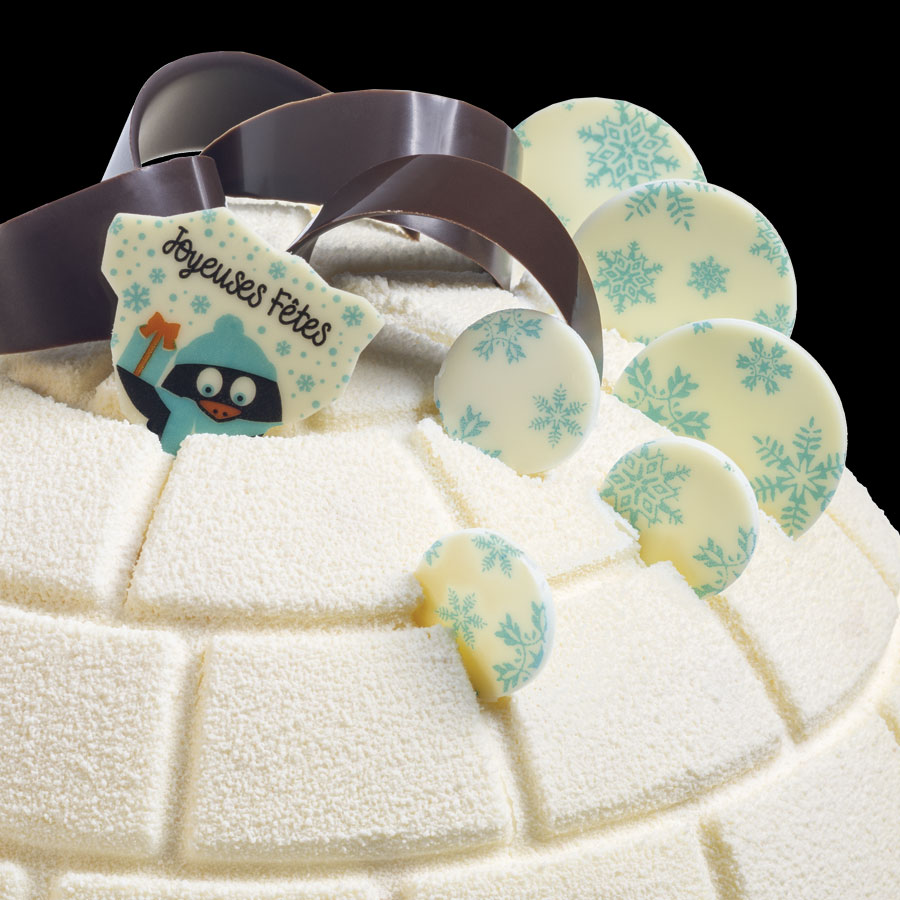
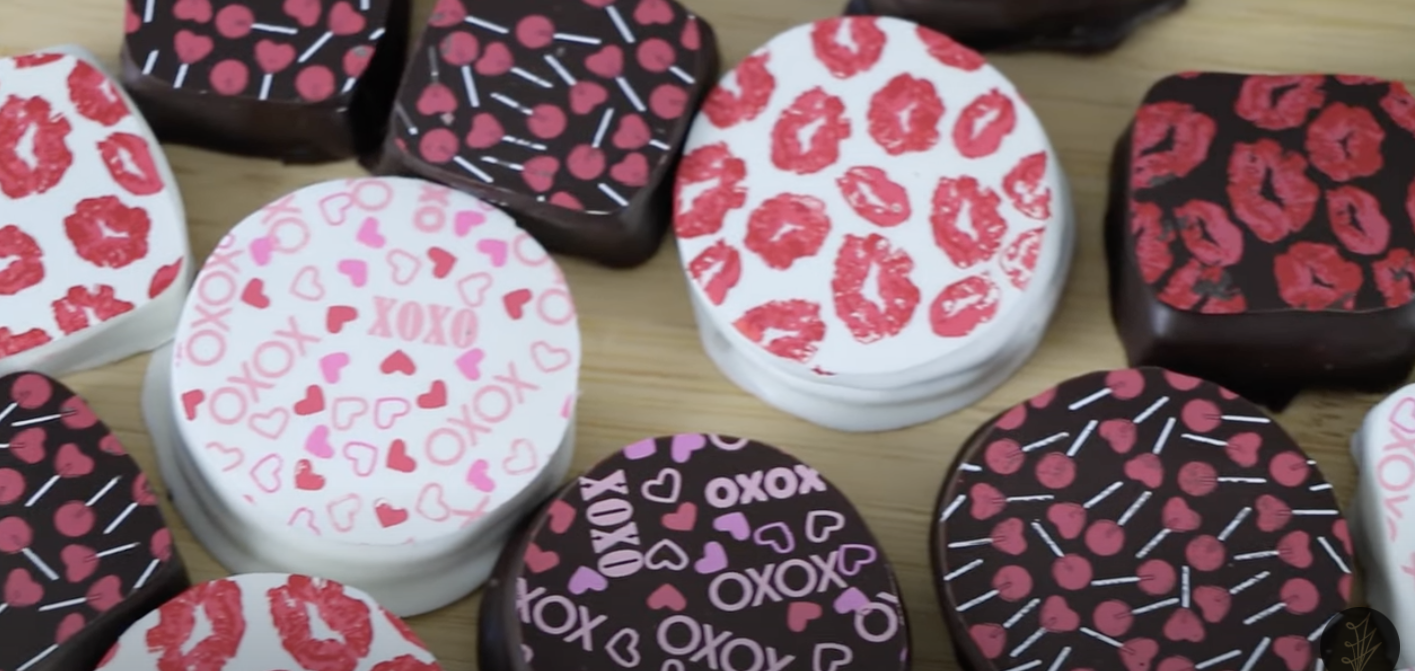
Photo credits:
creativebug.com
Brittnee Kay via YouTube
thespruceeats.com
bakonsua.com
decors-creations.com
