
Using Edible Images on Ice Cream Cakes: What Works Best?
Posted by Tanya Montgomery on 6th Oct 2026
Ice cream cakes and edible images are both incredibly popular, and the good news is that they work very well together.
The key is understanding one thing: moisture.
Because edible icing sheets are designed to absorb moisture, frozen cakes can sometimes affect image quality over time. The solution is simply choosing the right application method for your situation.
Here are the most popular ways our customers use edible images on ice cream cakes.
Option 1: Apply the Edible Image Directly to the Cake
This is by far the most common method.
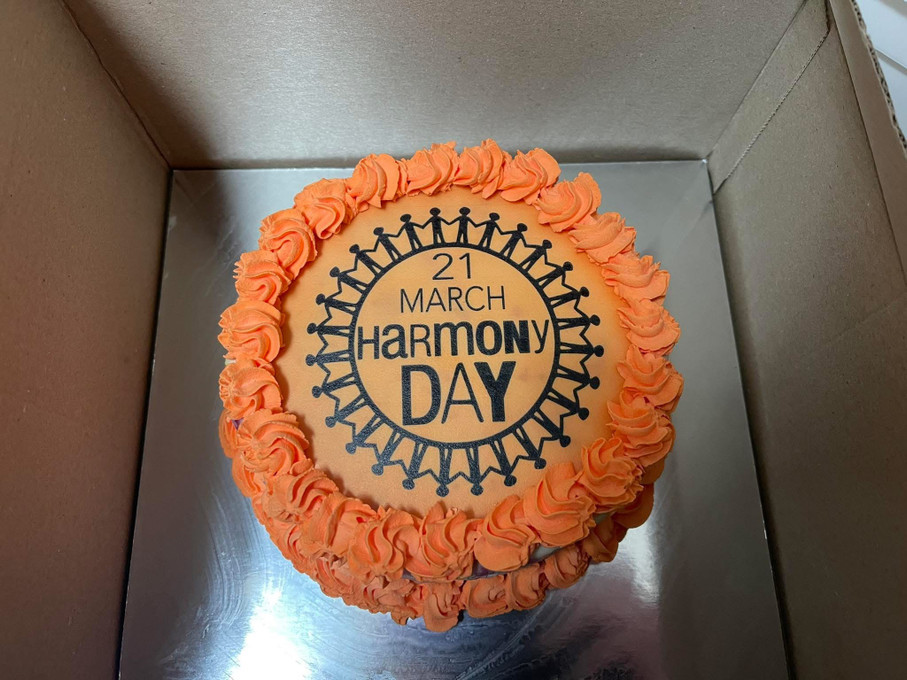
Many of our customers place edible images directly onto frozen ice cream cakes, add a piped border around the image, and return the cake to the freezer until collection.
Best for: Same-day or next-day collection.
One customer told us:
"We stick it directly onto the ice cream cake and use piping around the image to secure it. We haven't had any complaints from customers."
The main thing to keep in mind is that colours may soften slightly as the cake freezes and defrosts.
Option 2: Back the Image with White Chocolate
If you regularly decorate ice cream cakes, this is our favourite method.
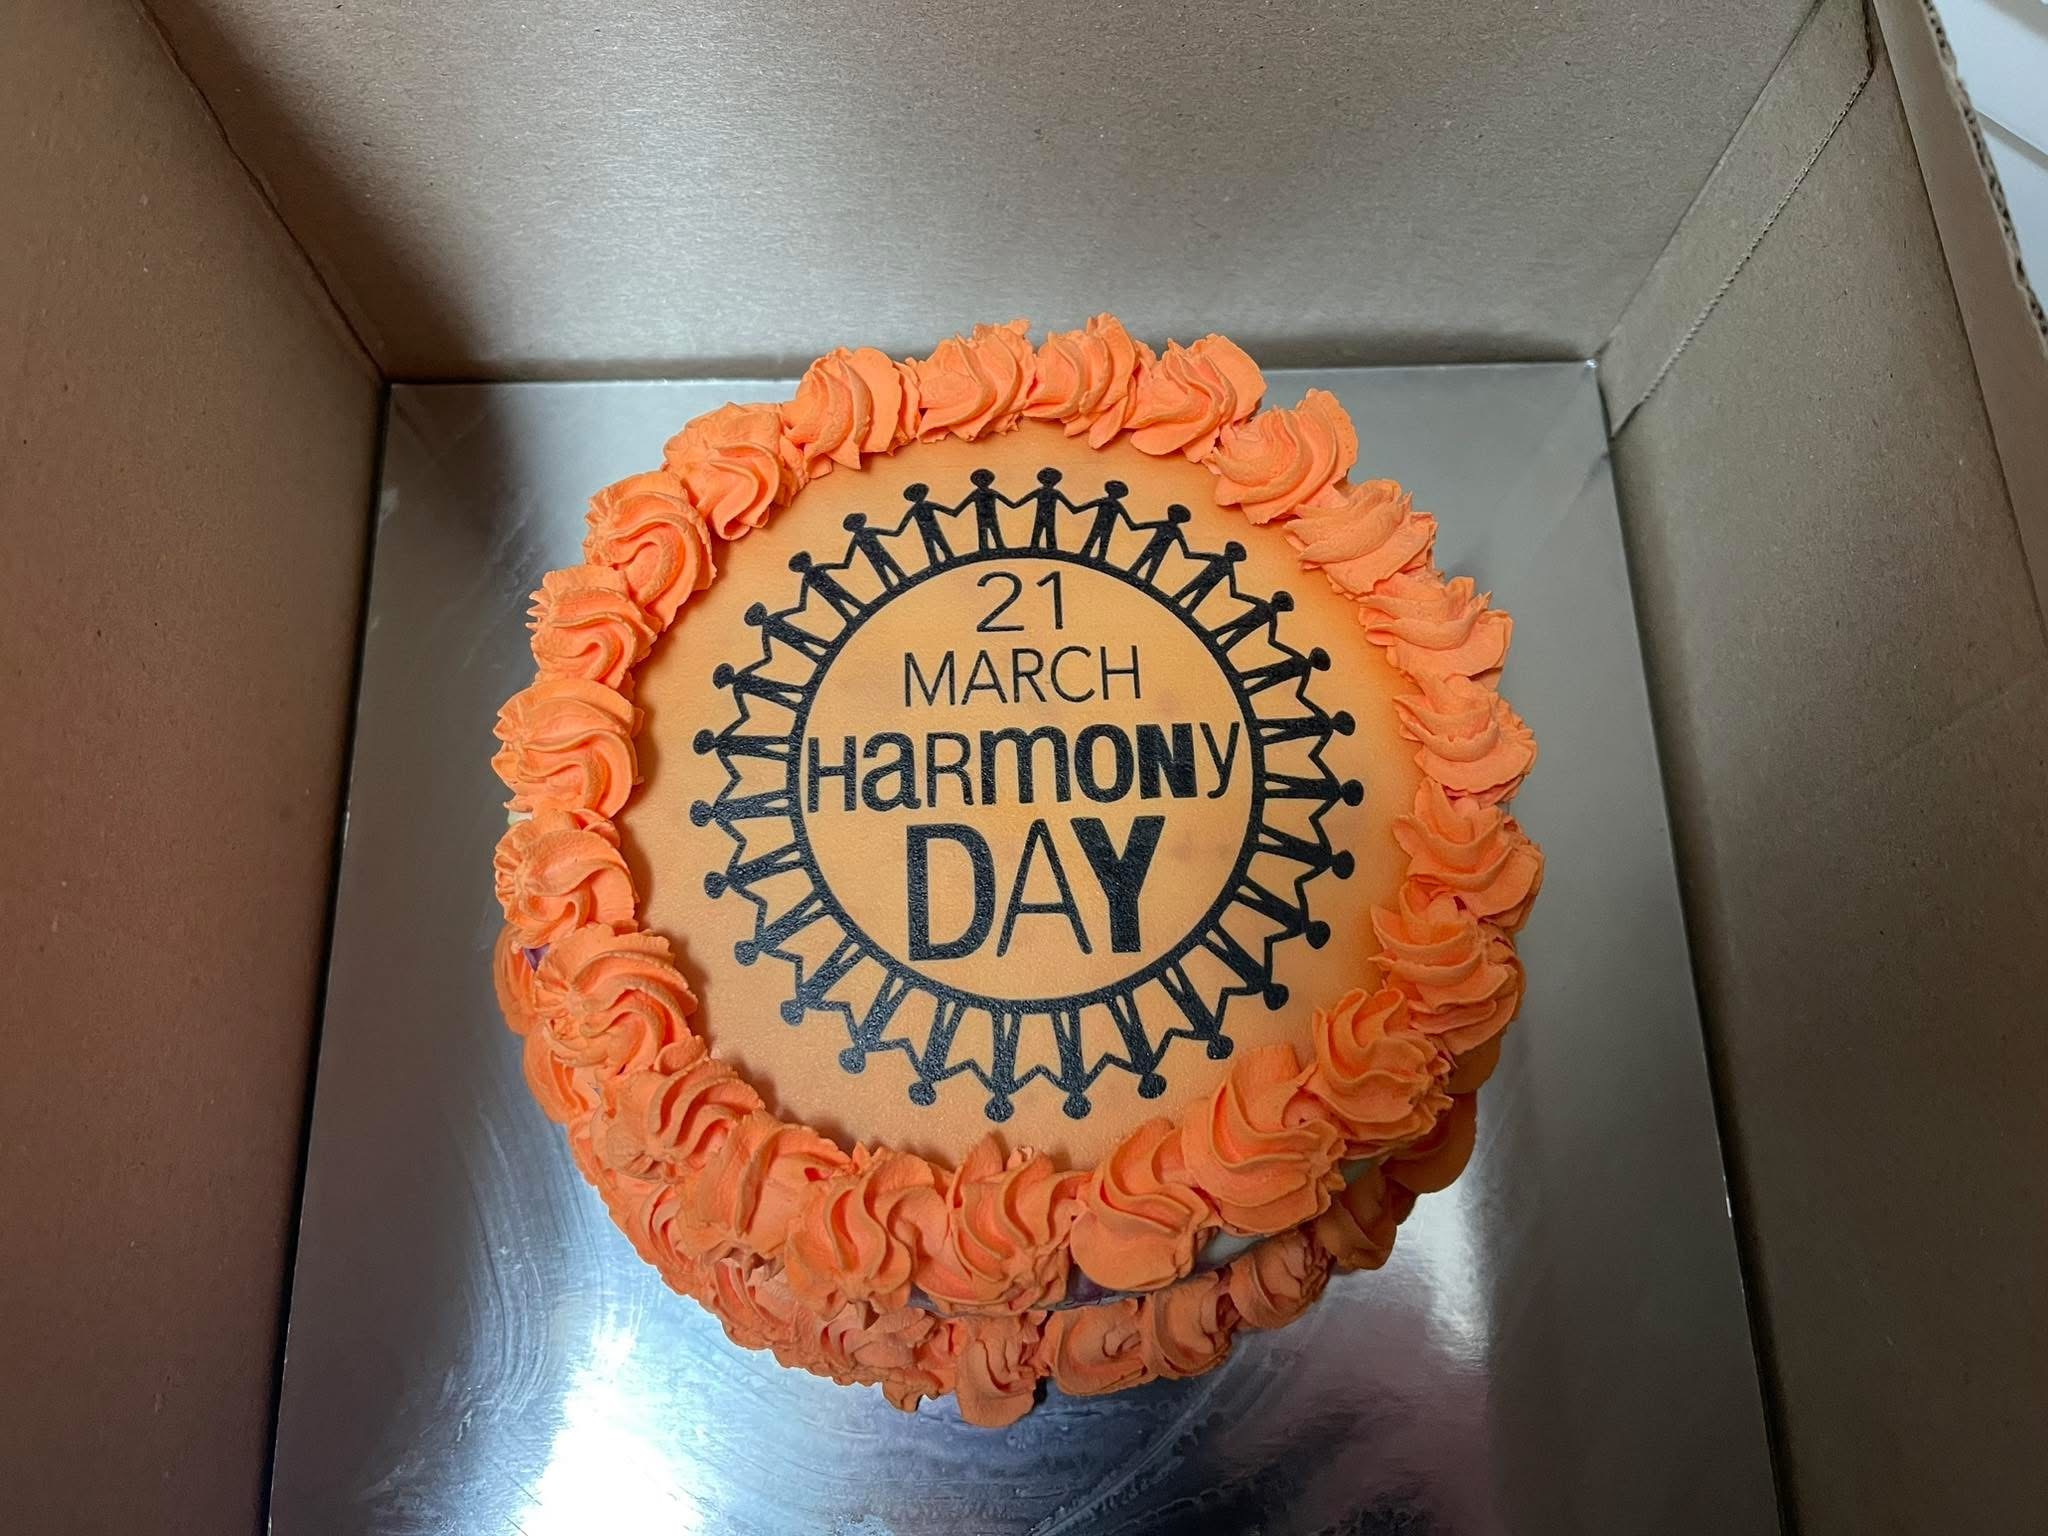
A thin layer of white chocolate creates a barrier between the edible image and the frozen cake surface, helping to protect the image from excess moisture.
Benefits:
✔ Better image quality
✔ Reduced colour bleeding
✔ Easier handling
✔ Less moisture absorption
✔ Improved stability
Simply:
- Print and cut out your image.
- Remove the backing sheet.
- Apply a thin layer of melted white chocolate to the back.
- Allow it to set.
- Place onto the cake.
This technique is also excellent for fresh cream cakes.
Customer Tip:
"The ready-made chocolate drip bottles are quick, easy and precise to use on more intricate shapes. They make backing edible images with white chocolate much simpler and help create a protective barrier against moisture from the ice cream cake underneath."
— Amanda's Cake Emporium
Option 3: Create a Stand-Up Edible Image Topper
The white chocolate method has another advantage.
Before the chocolate sets, place a food-safe stick on the back of the image.
Once hardened, you've created a stand-up topper that can be inserted into the cake.
This helps keep the image away from moisture altogether and creates a striking visual effect.
It's quick, neat, and doesn't require fondant backing or drying time.
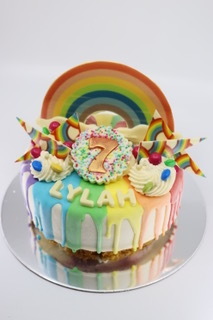
Image: Monumental Cakes
Option 4: Protect the Cake During Storage
If your ice cream cake will be spending time in the freezer before collection, how you store it can make a big difference.
Ice cream cakes can absorb odours and flavours from the freezer, and excessive exposure to air can increase the likelihood of condensation forming when the cake is removed.
For best results:
✔ Place the cake in a well-sealed cake box
✔ Wrap the entire box in cling film or plastic wrap where practical
✔ Minimise exposure to air in the freezer
✔ Avoid storing near strongly scented foods
This helps protect both the flavour of the cake and the appearance of your edible image.
Top Tip: This is the same method many decorators use when freezing a standard cake with an edible image applied. The aim is to minimise exposure to air and moisture fluctuations, helping to preserve both the cake and the image for as long as possible.
Option 5: Apply the Image to Fondant First
Another popular option is to apply the edible image to a thin layer of white fondant before placing it onto the cake.
The fondant acts as a protective barrier between the image and the frozen cake surface.
Benefits:
✔ Reduced moisture absorption
✔ Better image definition
✔ Flatter surface
✔ Reduced bubbling
This is particularly useful for highly detailed designs where image sharpness is important.
When Should You Apply the Image?
The later, the better.
For the best results:
✔ Apply shortly before collection or presentation.
If that's not practical, many decorators successfully apply images the night before collection.
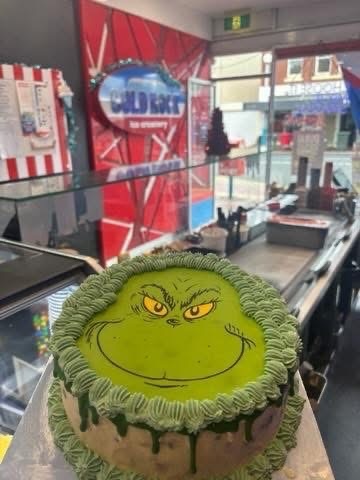
One of our customers, Cold Rock Burnie, shared:
"If possible, I recommend putting the image on very last minute, but we usually do ours the night before pickup, and they're still fine."
The less time the image spends exposed to moisture and temperature changes, the better it will look.
Do's and Don'ts
DO
✅ Keep images sealed until required
✅ Handle with clean, dry hands
✅ Ensure the cake surface is as smooth as possible
✅ Apply as close to collection as practical
✅ Use white chocolate or fondant for additional protection
✅ Store the cake in a sealed box
✅ Wrap the boxed cake in cling film if storing for extended periods
✅ Finish with a piped border for support
DON'T
❌ Apply the image to a wet or melting cake surface
❌ Leave images exposed to humidity
❌ Touch the printed surface with damp hands
❌ Expect identical results after extended periods in the freezer
❌ Allow excessive condensation to form before applying the image
❌ Store the cake uncovered in the freezer
Is It Worth It?
Absolutely.
Thousands of ice cream cakes are successfully decorated with edible images every year.
Whether you apply the image directly to the cake, back it with white chocolate, mount it onto fondant, or turn it into a stand-up topper, there are several effective ways to achieve great results.
The best method will depend on your workflow, storage conditions, and how long the cake will be stored before serving.
As with most edible printing techniques, success comes down to understanding moisture and planning accordingly. Don't be afraid to experiment and find the method that works best for you.