
Getting the Best Results with Pre-cut Edible Icing Sheets
Posted by Tanya Montgomery on 13th Aug 2026
One of the most common questions we receive is:
"Why doesn't my print line up perfectly with the pre-cut shapes?"
The answer isn't because your printer is faulty.
It's because pre-cut edible icing sheets require very precise alignment, and every printer feeds icing sheets a little differently.
Understanding this from the beginning will help you achieve the best possible results and avoid unnecessary frustration.
Why Alignment Is Different
Unlike printing onto a full A4 edible icing sheet, pre-cut edible icing sheets require every image to sit neatly inside an existing shape.
Because you're aiming for millimetre-accurate alignment, even a tiny variation in how the sheet feeds through your printer can become noticeable.
This is completely normal.
Every printer feeds icing sheets slightly differently - even two printers of the same model.
It's also perfectly normal for the same printer to feed consecutive sheets slightly differently.
The reason is simple: edible icing sheets have a smooth plastic backing sheet, and the printer's rollers can occasionally slip as they feed the sheet.
Give Yourself a Little Time
The biggest piece of advice we can offer is to be patient during the initial setup.
Pre-cut icing sheets are designed to save you time, but not necessarily on your very first print.
Spending a little time fine-tuning your template now can save countless hours of cutting and preparation later.
Always Test Using Actual Icing Sheets
One of the most common questions we receive is whether you can test alignment using plain paper.
Unfortunately, the answer is no.
Plain paper feeds differently from edible icing sheets, so it won't accurately show where your images will print.
Because decorators are trying to achieve millimetre-accurate alignment, testing on your actual pre-cut edible icing sheets is the only reliable way to fine-tune your template.
Although it may use a few icing sheets during setup, it's well worth the investment to achieve the best possible results.
Customising Your Template
Our templates are designed to suit the vast majority of printers.
However, because every printer feeds edible icing sheets slightly differently, you may need to make a few small adjustments to achieve the best alignment for your printer.
Some simple changes include:
Adjust the margins
Move the artwork up, down, left or right by adjusting the page margins.
Resize your design
Make your logo or image slightly larger or smaller within the pre-cut shape until you're happy with the positioning.
Reposition the artwork
If your design consistently prints slightly to one side, simply reposition it within your template.
Allow your artwork to bleed
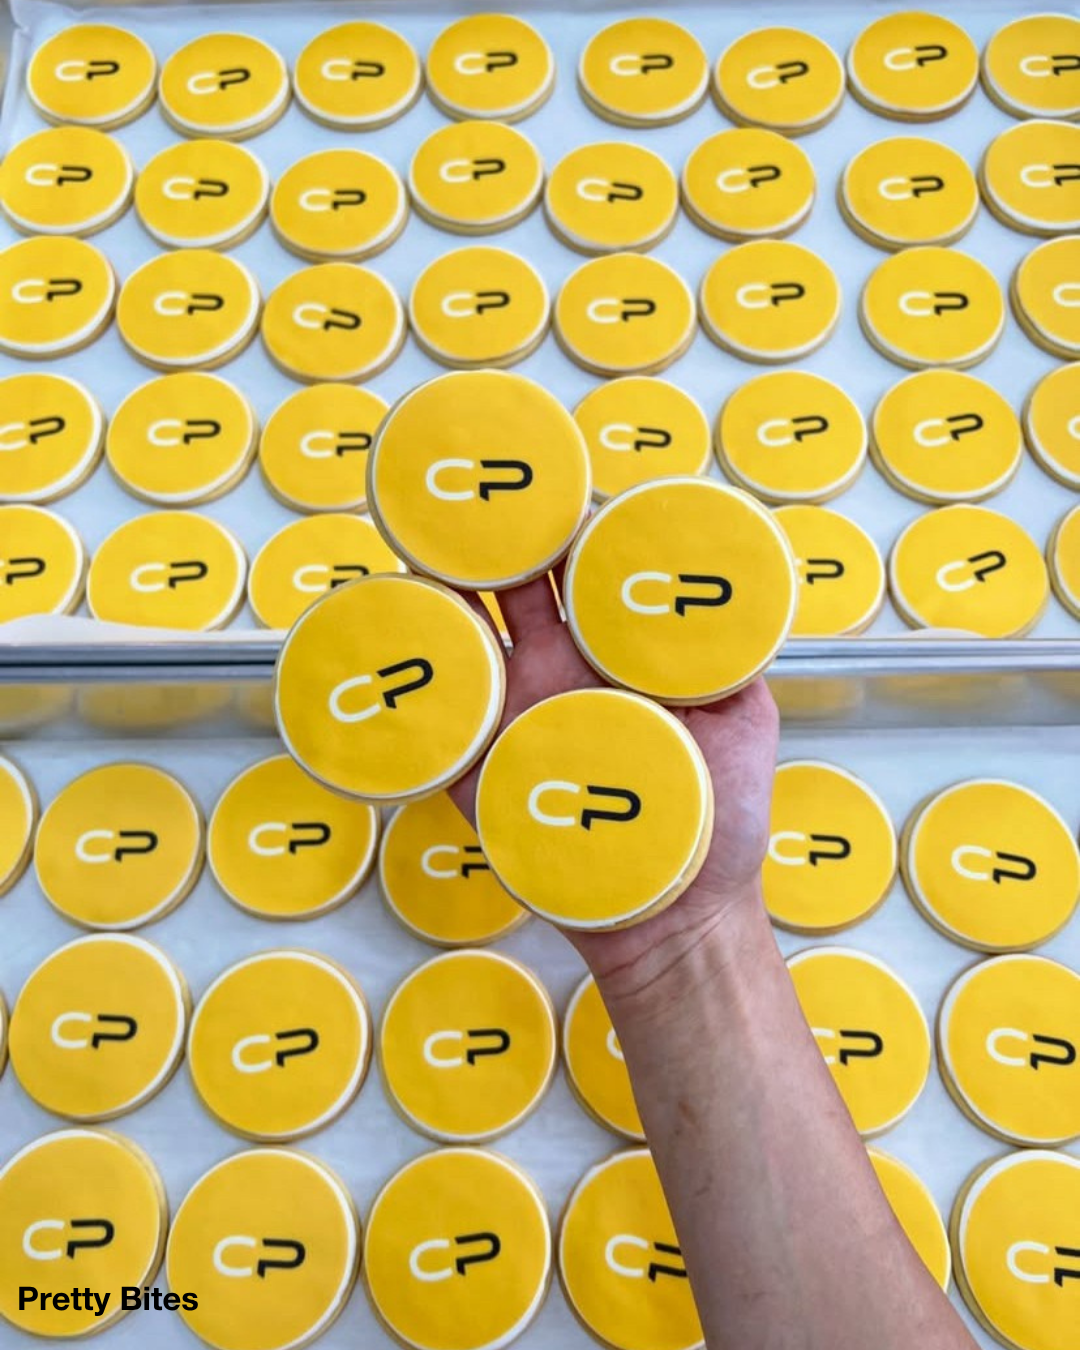
If you're printing a design with a coloured background, extend the artwork slightly beyond the edge of the pre-cut shape.
This helps hide small alignment variations and ensures a white border won't show if the print is 1-2 mm out.
A Simple Tip for More Consistent Feeding
If your printer isn't feeding pre-cut edible icing sheets consistently, try attaching a sheet of A4 paper to the back of the edible icing sheet using a couple of small pieces of Blu Tack or low-tack double-sided tape.
The additional grip can help reduce slipping on the plastic backing sheet and encourage a more consistent feed through the printer.
Many customers have found this to be a simple but effective technique.
Tips from Claudia at Pretty Bites
We're proud to be a preferred supplier to Pretty Bites, and to support Claudia and her team with the edible printing products they rely on every day.
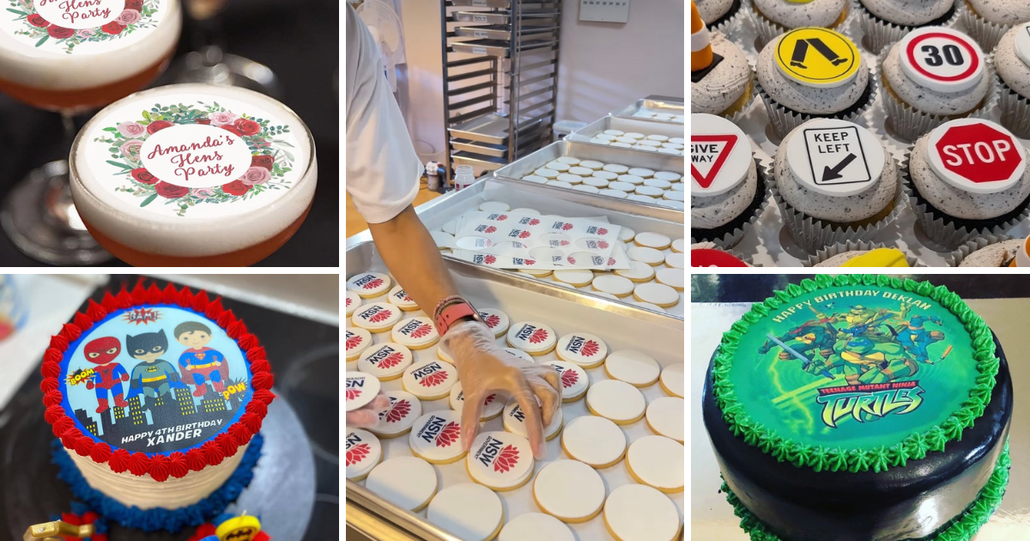
Claudia from Pretty Bites, one of Australia's leading cookie decorators, uses our pre-cut edible icing sheets daily to produce hundreds of logo cookies for businesses and events.
Here are a few of the practical techniques she's developed through everyday commercial production.
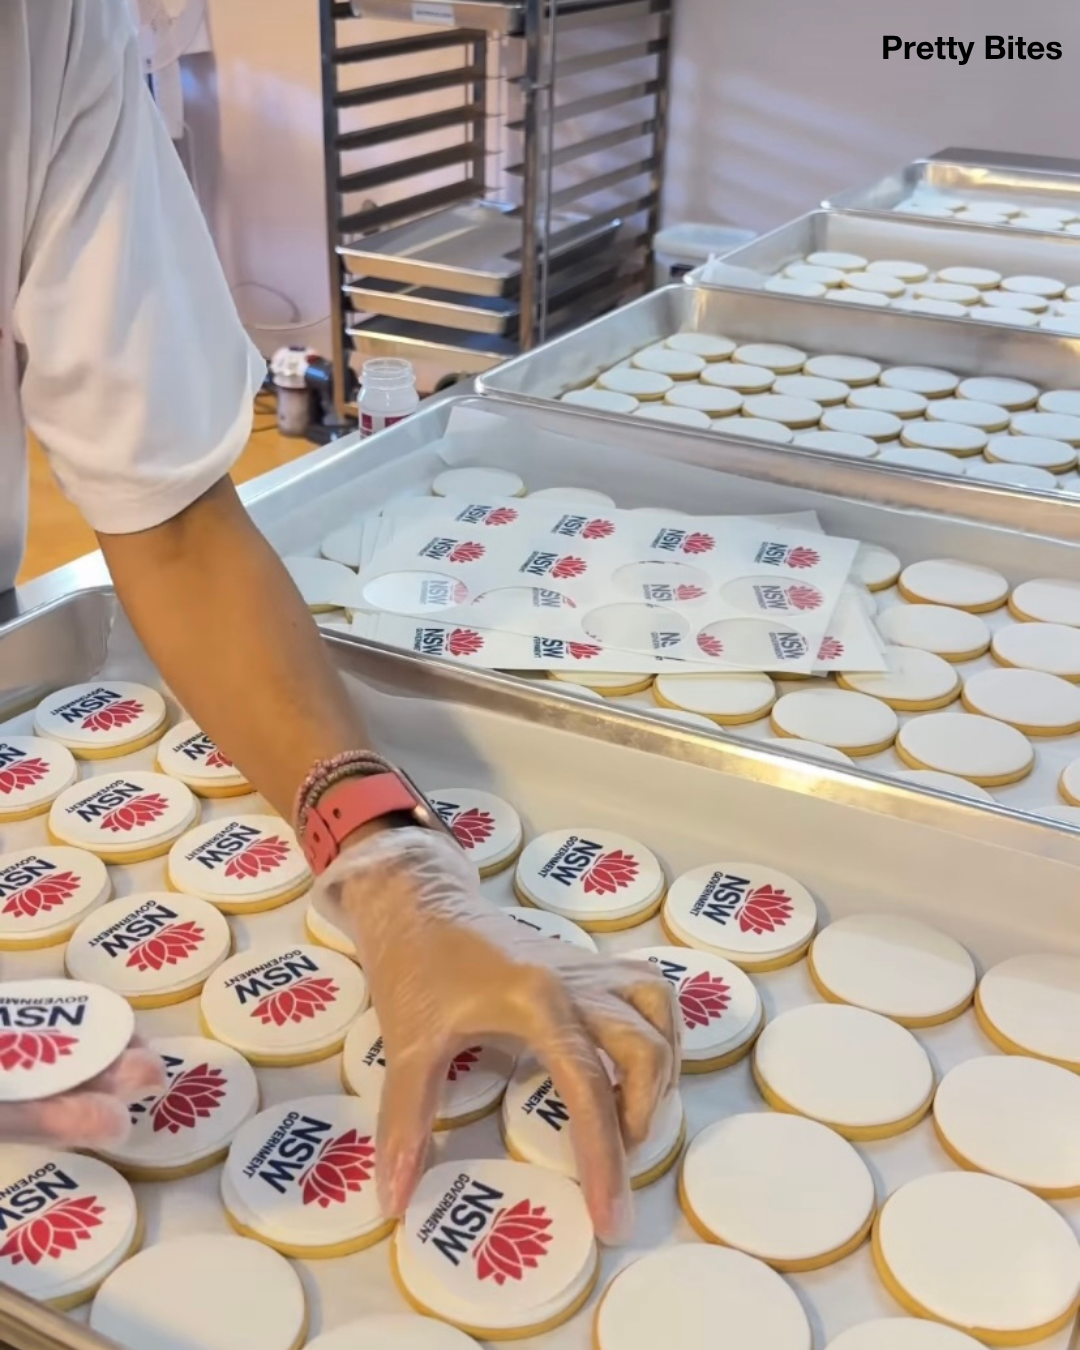
Apply with edible glue
"Stick them down with a thin layer of edible glue. Allow the glue to dry a little and become tacky before applying the logo or image on top."
Improve feeding
"I put my sheets in with the plastic side entering the printer last. If I'm printing right to the end of the page, I add a sticky note to the end of the sheet for better printer flow and reduced ink smudging."
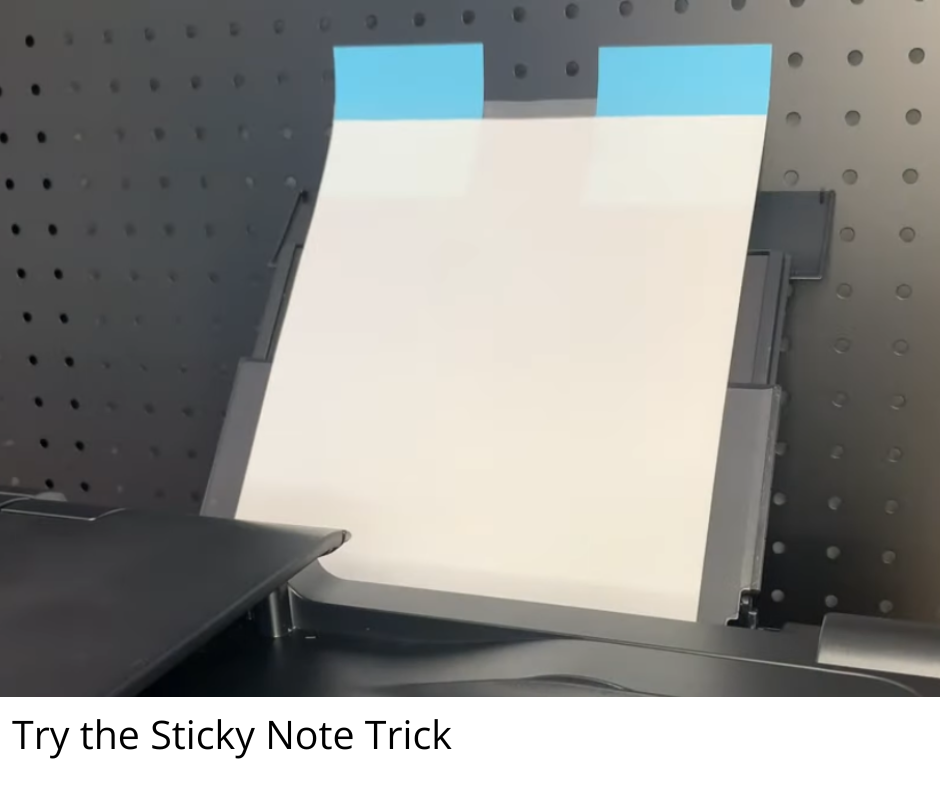
Click here for YouTube tutorial. Or, read our Sticky Note Blog
Hide alignment variations
"If I'm printing a design with a solid colour background, I extend the image beyond the pre-cut circle size. That way, even if it is off by 1-2 mm, a white border won't show."
Every printer behaves a little differently, so don't be afraid to experiment and find the techniques that work best for your own setup. Claudia's tips are a great example of how small adjustments can make a big difference when producing high-quality edible images.
Final Thoughts
At Edible Image Supplies, we'd rather set realistic expectations than promise perfection.
Pre-cut edible icing sheets aren't difficult to use, but they are different from printing on plain paper or full A4 edible icing sheets. Understanding how your printer feeds the sheets, taking the time to fine-tune your template and making small adjustments when needed will help you achieve the best possible results.
Remember, pre-cut edible icing sheets are designed to save you time - not necessarily on your very first print, but on every print after that.
If you ever need help with templates, alignment or printing, our team is always happy to point you in the right direction.