
Step-by-Step Guide: How to Use Stencils for Perfect Cake and Cookie Decorations
Posted by Nicole Tait on 4th Apr 2024
Are you ready to take your dessert game to the next level? Stencil art is the secret weapon of professional bakers, allowing you to create stunning designs with ease. Whether you're decorating cakes, cookies, or cupcakes, stencils are versatile tools that can add intricate details and beautiful patterns to your creations. In this guide, we'll walk you through how to use stencils for cake/cookie decorating on fondant and buttercream icing, as well as share tips for achieving perfect results every time.
Why Use Stencils for Cake Decorating?
Stencils are designed to make cake/cookie decorating easy and efficient. With this easy stencil art application method, you can create eye-catching designs in no time. Whether you're a seasoned baker or just starting out, stencils are a game-changer for adding professional-looking details to your sweet creations. Before you get started checkout our range of stunning stencil designs from Belle Stencils.
How to Use Stencils for Cupcake Decorating
Cupcakes are the perfect canvas for experimenting with stencil designs. Here's how to use stencils to decorate your cupcakes like a pro:
1. Prepare Your Workspace: Cut a sheet of *parchment paper to the same size as your stencil. Place the parchment paper on a flat surface and lay the stencil on top. *You could try our Flower Up reusable squares by Savvy Cakes Sydney instead of parchment.
2. Pipe Buttercream: Pipe your desired amount of buttercream onto the centre of your cupcake.
3. Apply Stencil: Flip the cupcake upside down and press it against the stencil to flatten the buttercream. Place all cupcakes in the fridge to set.
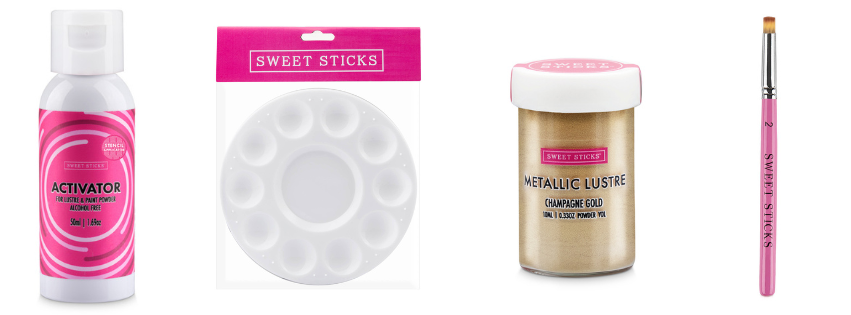
4. Activate Stencil: Once the buttercream has set, remove the parchment paper (or Flower Up) and apply a thin coat of Alcohol-Free Activator, such as Sweet Sticks Stencil Activator, over the stencil.
5. Apply Lustre Dust: Gently apply *lustre dust with a lustre brush over the stencil. Brush away any excess dust. *Try our More Lustre or Sweet Sticks Lustre
6. Peel Stencil: Slowly peel away the stencil to reveal your beautifully decorated cupcake.
How to Use Stencils for Cookie Decorating
Stencils are also perfect for adding intricate designs to cookies. Follow these steps to create stunning cookies using stencils:
1. Roll Fondant: Roll out your fondant to the desired thickness.
2. Place Stencil: Lay the stencil over the fondant and continue to roll until the imprint of the stencil is visible on the fondant.
3. Activate Stencil: Apply a thin coat of Alcohol-Free Activator over the stencil and brush until tacky.
4. Apply Lustre Dust: Gently apply lustre dust over the stencil using a lustre brush. Brush away any excess dust.
5. Peel Stencil: Slowly peel away the stencil to reveal your beautifully decorated cookie.
Other Applications for Stencils
Stencils can be used for a variety of other decorating techniques, including airbrushing, royal icing designs, and buttercream and ganache applications. Experiment with different mediums and stencil designs to create unique and personalised desserts that will wow your customers, friends and family.
Don't be afraid to get creative and have fun with stencils in your baking adventures!
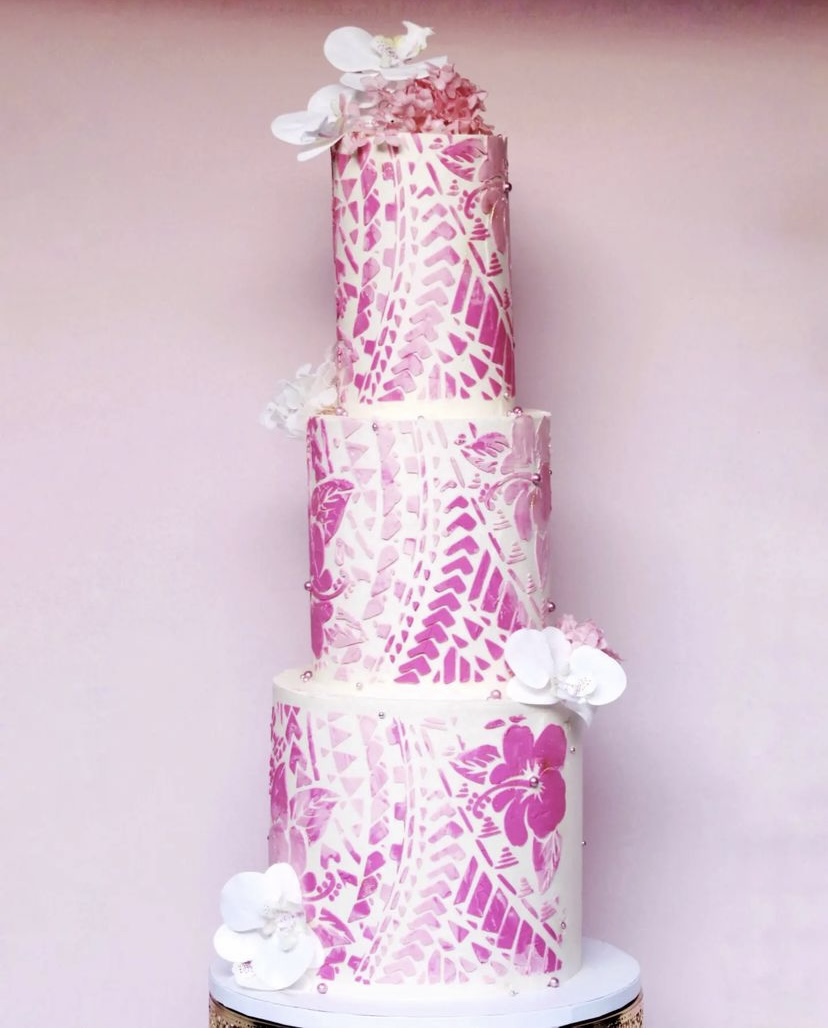
Photo credit:
Application steps @sweetsticksau
Cake by @dreamcream_ao using @belle_stencils Samoan Hibiscus stencil
Cover photo: Cake by @_cakesbyemma_ using @belle_stencils Opera House stencil